There’s something special about adding a small, handmade detail to a baby milestone photography session—something that frames their expressions and gives that personal touch. This easy, no-sew bow tutorial does exactly that. It’s quick to make, requires no sewing, and the bows can be made in any size, color, or texture.
You can add this bow to baby’s outfit in a number of ways! Picture it on hats, shirts, on newborn wraps for girls, or as a bow tie on a sleeping baby boy.
This tutorial walks you through the exact steps I used to create the bows for Baby G’s three-month milestone session. If you’d like to make your own version for your next photo session—or for your own little one at home—this is a great beginner-friendly guide.
Stick around at the end to see it used in Baby’s G’s recent 3 month milestone session! And read about how she’s just learned to giggle, and knows her parents will always be right there to care for her–always.
Table of Contents
Easy, No-Sew Bow Tutorial: Step-by-Step Instructions
Supplies
- Fabric
- Scissors
- Hot glue gun
- Iron
STEP 1 — Cut Your Fabric
Cut two pieces of fabric:
- Bow: 6″ x 3″
- Center Tie: 6″ x 1″
You can adjust these measurements to create a larger or smaller bow.
STEP 2 — Fold the Bow Fabric in Half (Lengthwise)
Fold the bow fabric (6″ x 3″) lengthwise to create a long strip.
Press it to form a center crease—this guides the folds in the next step.
STEP 3 — Fold the Edges into the Center
Open the fabric.
Use the crease as your guide:
- Fold the top edge down to the center and iron.
- Fold the bottom edge up to the center and iron.
Both raw edges are now neatly tucked inside.
STEP 4 — Fold in Half (Widthwise)
Fold the strip widthwise so the short ends meet.
Press lightly to mark a new center crease.
STEP 5 — Fold the Short Edges into the Center
Open the fold.
Using the new crease as your guide:
- Fold the left end in toward the center.
- Fold the right end in toward the center.
Iron to make creases and hold the shape (because in the next step you will open it up).
STEP 6 — Glue the Lengthwise Fold
Open the fabric again.
Run a thin bead of hot glue down the lengthwise crease, then fold both long edges back into place.
STEP 7 — Glue the Widthwise Fold
Run a small line of glue along the widthwise crease and fold the short edges back into place.
This forms the finished bow base.
STEP 8 — Prepare the Center Tie
Take your second 6″ x 1″ strip.
Repeat the first part of the bow process:
- Fold in half lengthwise.
- Open it and place a bead of glue down the center.
- Fold both long edges in toward the glue line.
Leave the short edges raw—they’ll be hidden when wrapped.
STEP 9 — Add the Tie to the Bow
Pinch the center of the bow until you get the shape you like.
This step gives it that soft, gathered look.
STEP 11 — Attach and Wrap the Tie
- Place a small line of glue on the backside of the bow.
- Press one end of the tie strip into the glue.
- Wrap the strip around the bow’s center, keeping it snug and smooth.
STEP 12 — Trim and Finish
Cut off the extra tie strip and glue the ends together at the back of the bow so it’s hidden.
Your bow is complete and ready to use!
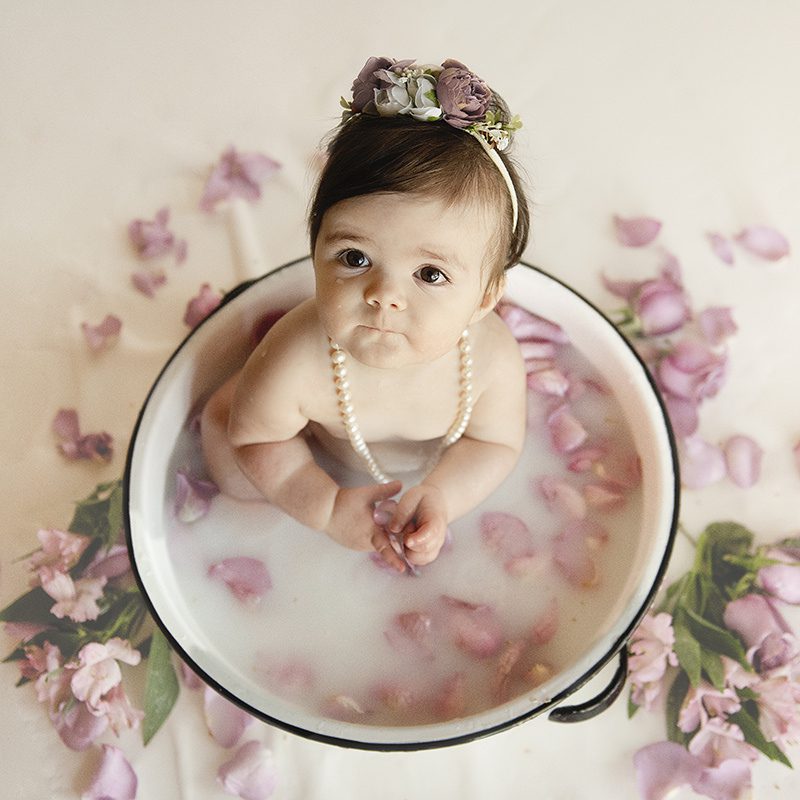
How I Used This Bow for Baby G’s Milestone Session
For this session I made two identical bows to fasten (with a safety pin) to each pom-pom on this creme colored hat. I will use this hat again without the bows, so I didn’t want to do anything permanent.
And then I welcomed Baby G into the studio! Baby G first appeared on the blog as a newborn just three months ago, you can see that session here, and it was a joy to photograph her again for her milestone session. She is expressive, joyful, and full of personality—everything her parents have fallen madly in love with.
Her gallery includes a mix of color and black-and-white work, natural props, and gentle textures—proof that the details can elevate a full session without overwhelming it.
Q&A With Baby G’s Mom
What milestones has baby G recently hit?
My little lady’s been hitting milestones faster than I once finished off a loaf of garlic bread.
Just today she turned something like 99 days and 16 hours old, 28 minutes old.
And way back at three and a half weeks there she was, eyes laser focused on mine, smiling with her whole body like she’d just set her first fire.
Then at 10 weeks she rolled over like she was dodging incoming fire from a 2003 Walmart Black Friday.
Next thing you know, week eleven, giggling.
Last week she started putting everything in sight in her mouth: her hand, her other hand, my hands, the dog’s hands.
And luckily she’s just a baby because she’s been talking behind my back, constant babbling.
Here at 14 weeks she’s got the grip strength of a 1980s WWF wrestler, probably Randy. Give her another month or 16 and she’ll be talking, dressing the dog, and saving all her money for her first Magic collection.
What is life like with a 3 month old?
In the beginning, having a newborn was a little like living with an uncalibrated sensor that picked up everything and responded by screaming: too cold, bright, tired, and oops my fart scared me. Angry at everything and can only tell you in one way.
“I hate you, I hate you, I don’t even know you and I hate your guts.” – S. Johnson.
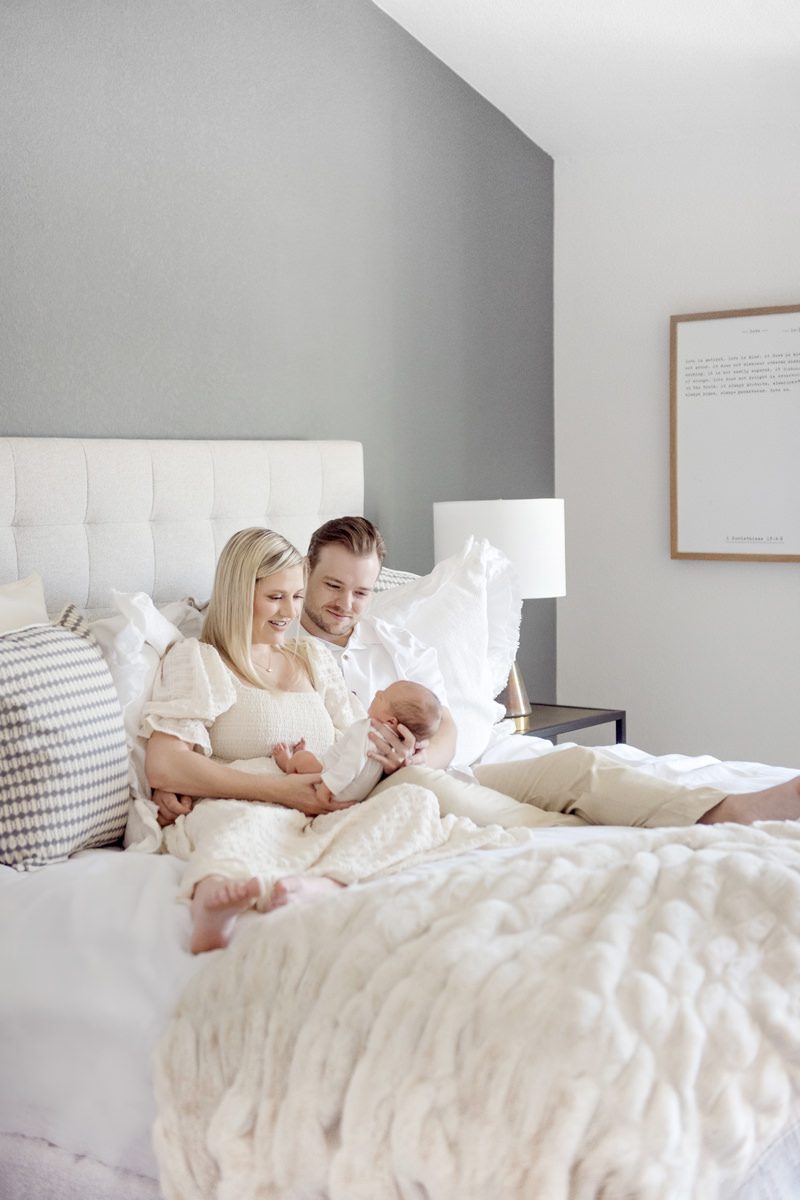
It’s utterly fascinating, babies start as a sort of blank slate; every sound and sensation is novel and pretty overwhelming. Yet when she swam through the dark nights, she began to trust that we’d always be there, every time she fussed, startled, cooed, and cried. Little by little the noise went down, the trust grew, and her little world started to make sense. Of course it helps that she has two immaculately beautiful and amazing parents. Now, at 3 months, she truly sees us. She smiles knowing that no matter the new sound or the sensation, we will be here to hold her cute little brown hand and help her navigate anything.
What does baby G do that makes you laugh?
Oh she is a hoot and a half. Adderall wishes it could deliver the kind of focus she can. She stares directly into your eyes while her whole body vibrates with intensity, legs windmilling, arms doing the sprinkler.
As she’s started to gnaw and drool on her entire hand she’s become torn between touching my face and drooling on her paw, but ever the problem solver she’s decided she can easily take her saliva soaked hand and rub my cheek. I played myself and responded with “noooo, stop it” and she starts giggling and grabs a slimy fistful of my hair.
My favorite part is her discovering the baby monitor camera. She stares with these dead eyes directly into the lens while babbling so loud I can hear it over the speaker and across the house.
Final Thoughts
Making your own photography props doesn’t have to be complicated or time-consuming. This Easy, No-Sew Bow Tutorial is quick, customizable, and budget-friendly—making it a great option whether you photograph babies professionally or simply want a soft, handmade touch for your own child’s accessories.
If you create a bow using this tutorial, feel free to share it with me—I’d love to see what you make.
– Jamie
Parker, Colorado Baby Photographer
Telling YOUR Story