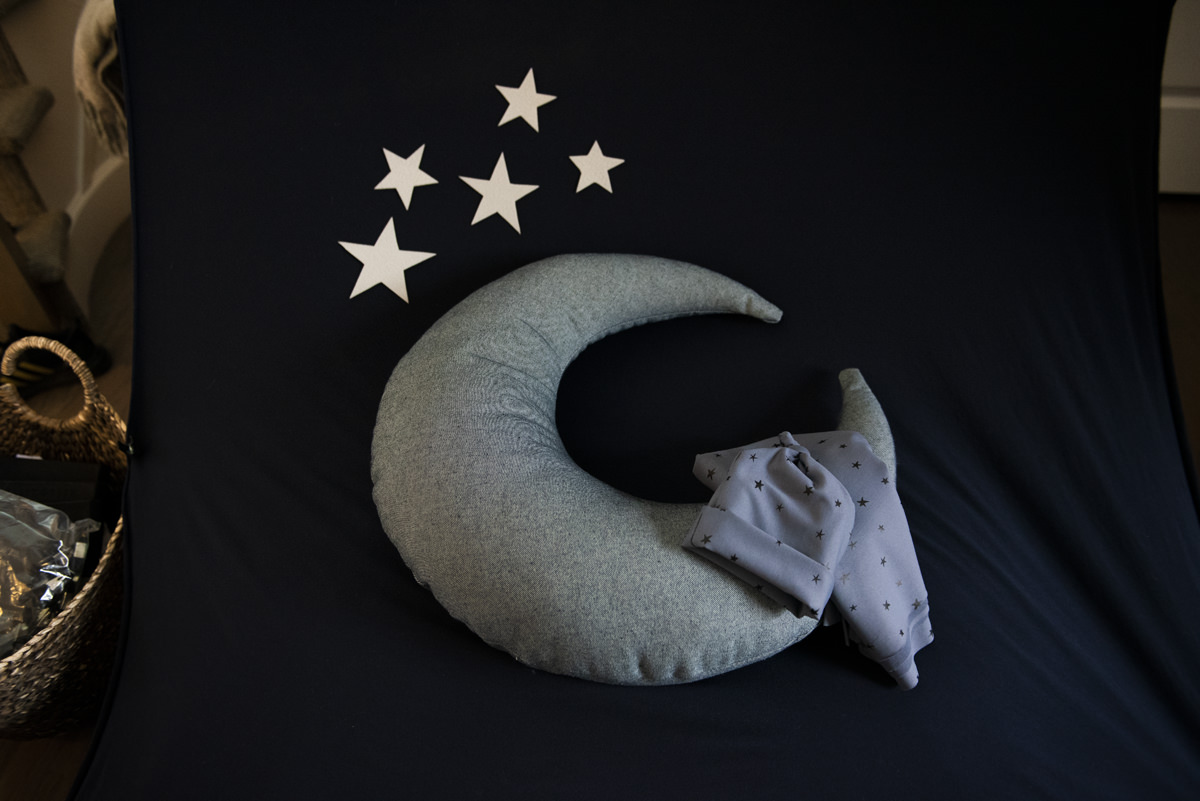
I hope to inspire you with this moon pillow tutorial. Whether you’re a newborn photographer, or you’re looking for an adorable, easy-to-make accent pillow for a little boy or girl’s room, if you’ve got some basic sewing skills this will be a piece of cake. I’ve even got a suggestion below if you don’t sew… and either way, no pattern is needed!
SUPPLIES NEEDED:
Fabric
Scissors
Thread
Sharpie or fabric marker
Two circle shapes for templates (or string to draw your own)
Sewing machine (optional)
Straight pins
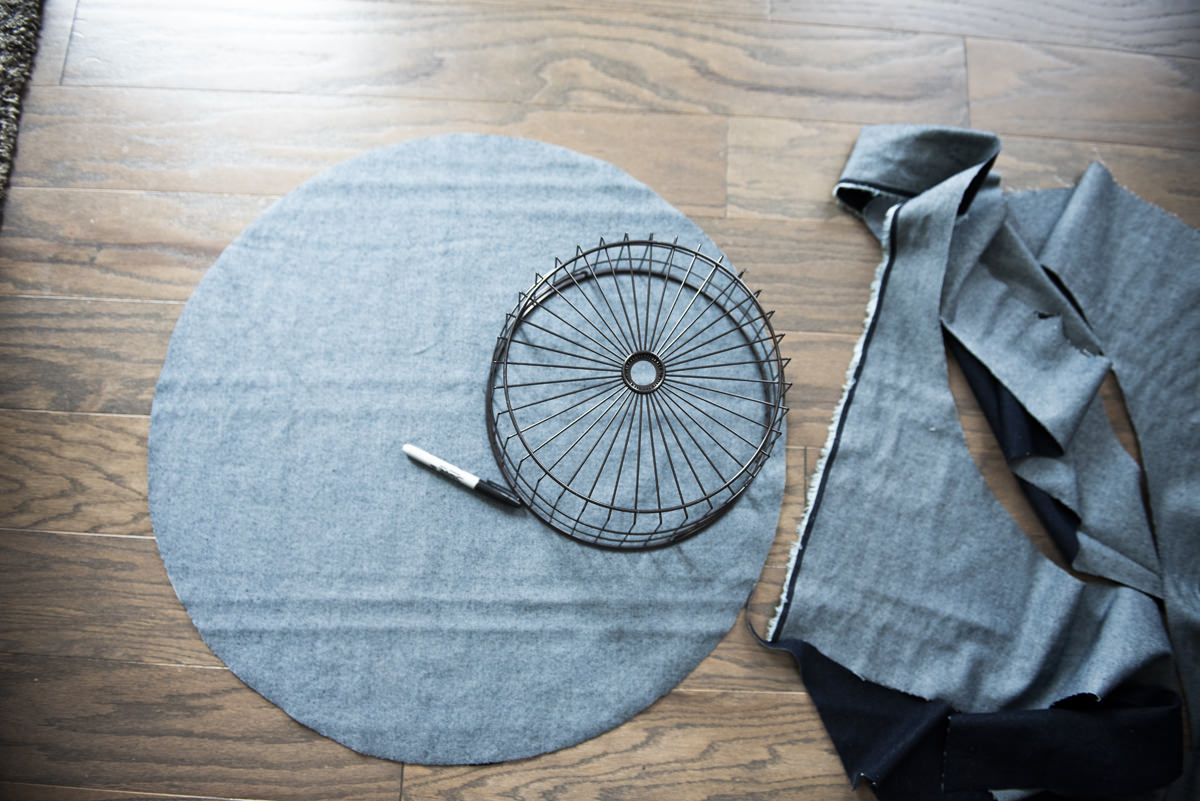
STEP 1: Cut your fabric into two identical circles.
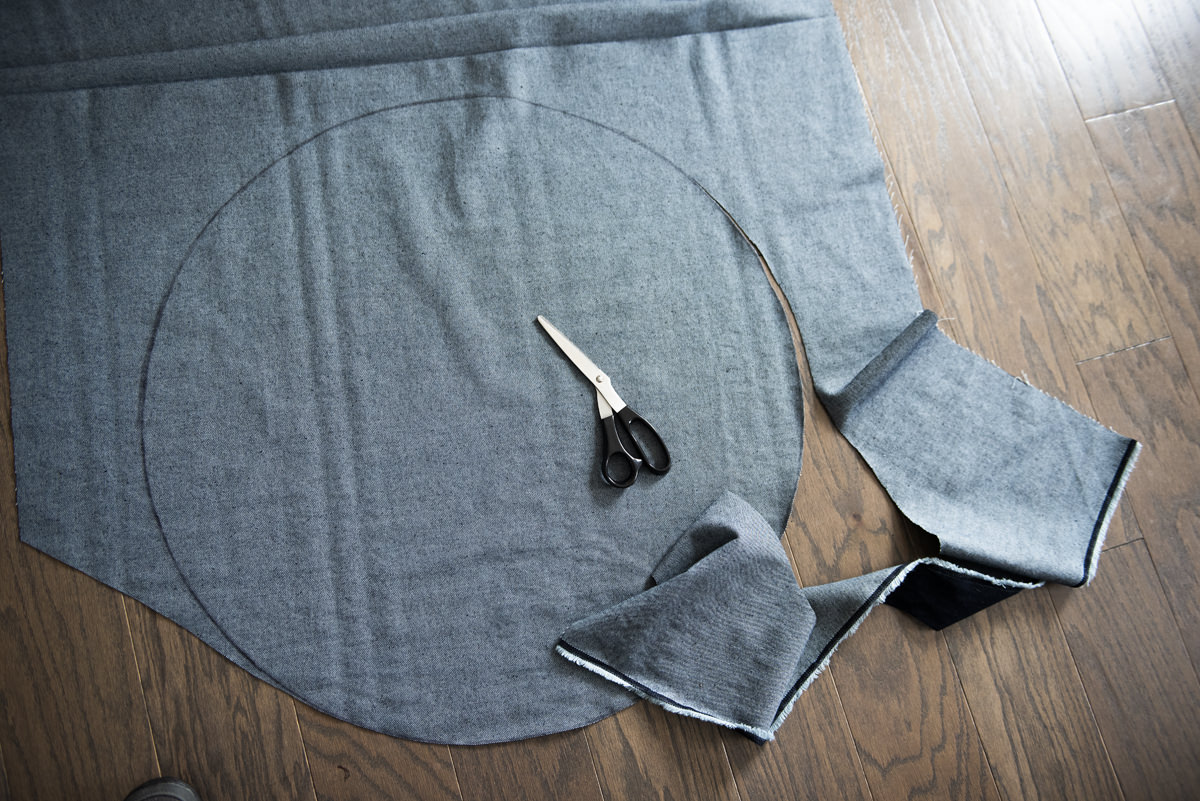
TIP: If you don’t have a circle shape the size you need, no problem! You could wrap a piece of string around a sharpie, or fabric marker. Then, cut the string to be the length of your radius. In my case, the circle was 26″ across, so the radius is half that which is 13″. Next, have someone hold the string (tightly) in the center of your fabric. Pull the string tight, and draw your circle!
UPDATE: Someone who made the pillow from the tutorial commented that they used the string method on cardboard for their circles, then used the cardboard as a template. This is probably a better method to ensure perfect circles.
STEP 2: Trace and cut a smaller circle out of the bigger circle.
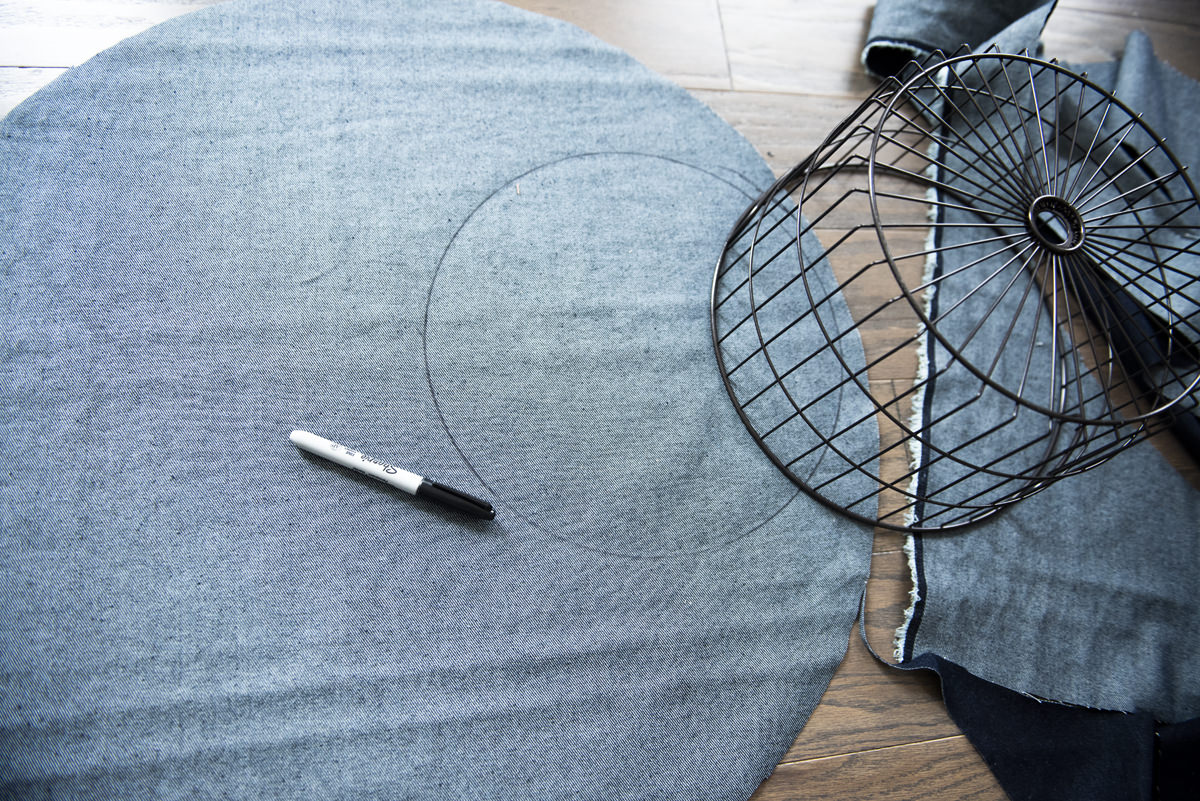
TIP: I suggest putting right sides together, and cutting both of your circle pieces at the same time to be sure they are exact. I didn’t do that. Turned out ok anyway.
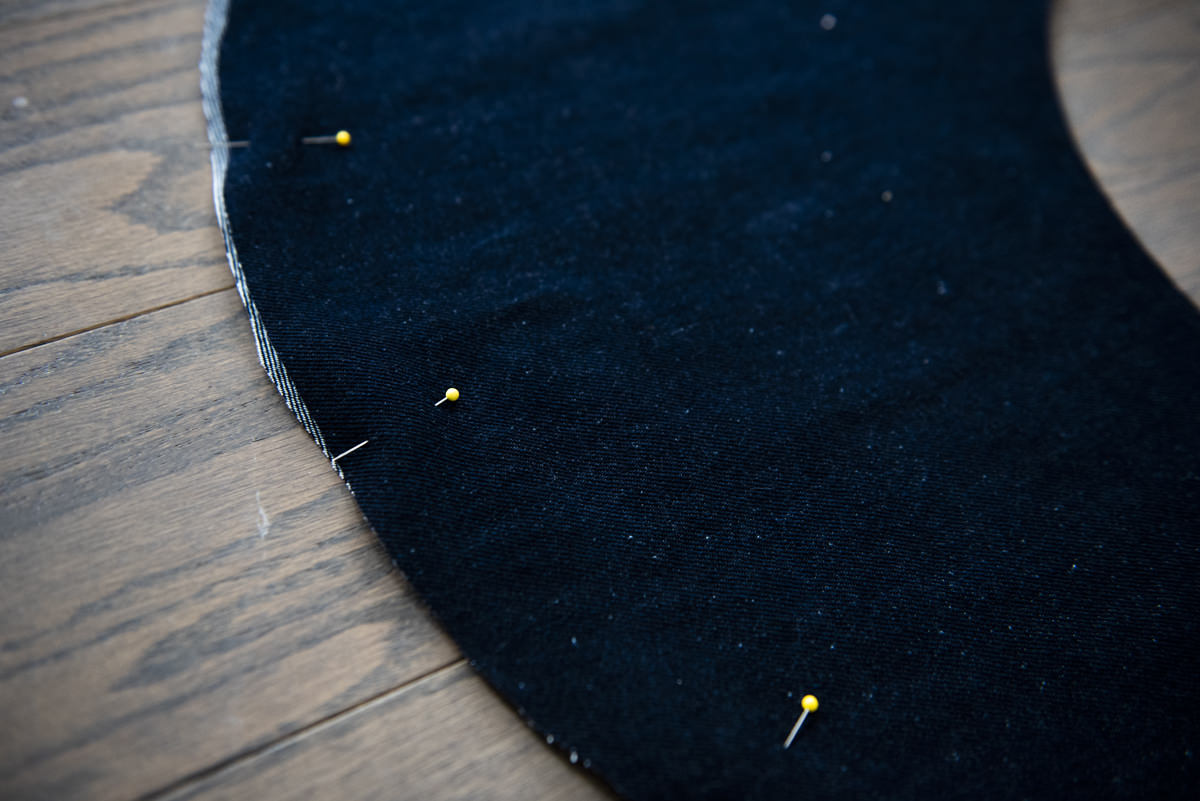
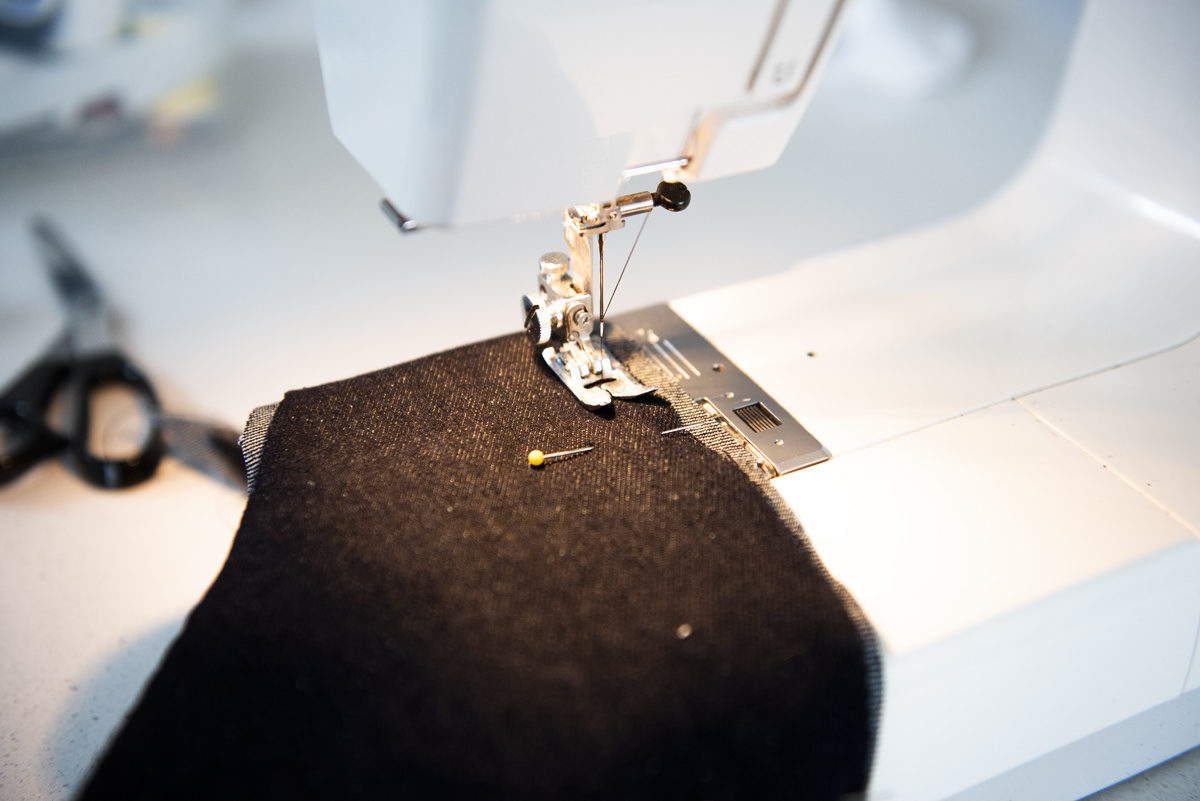
STEP 3: With right sides together, pin.
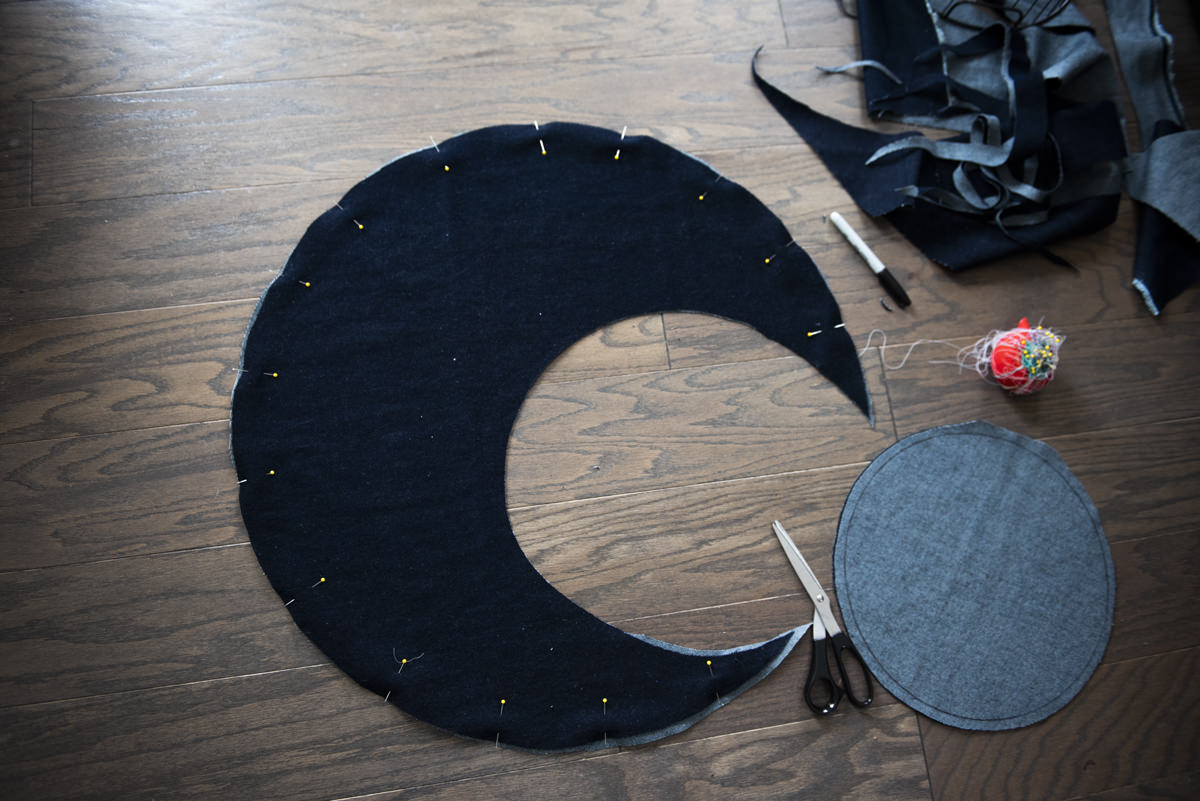
STEP 4: Sew! BE CAREFUL to leave at least 5-7 inches without stitching so you can stuff your pillow. See picture from STEP 6 & 7.
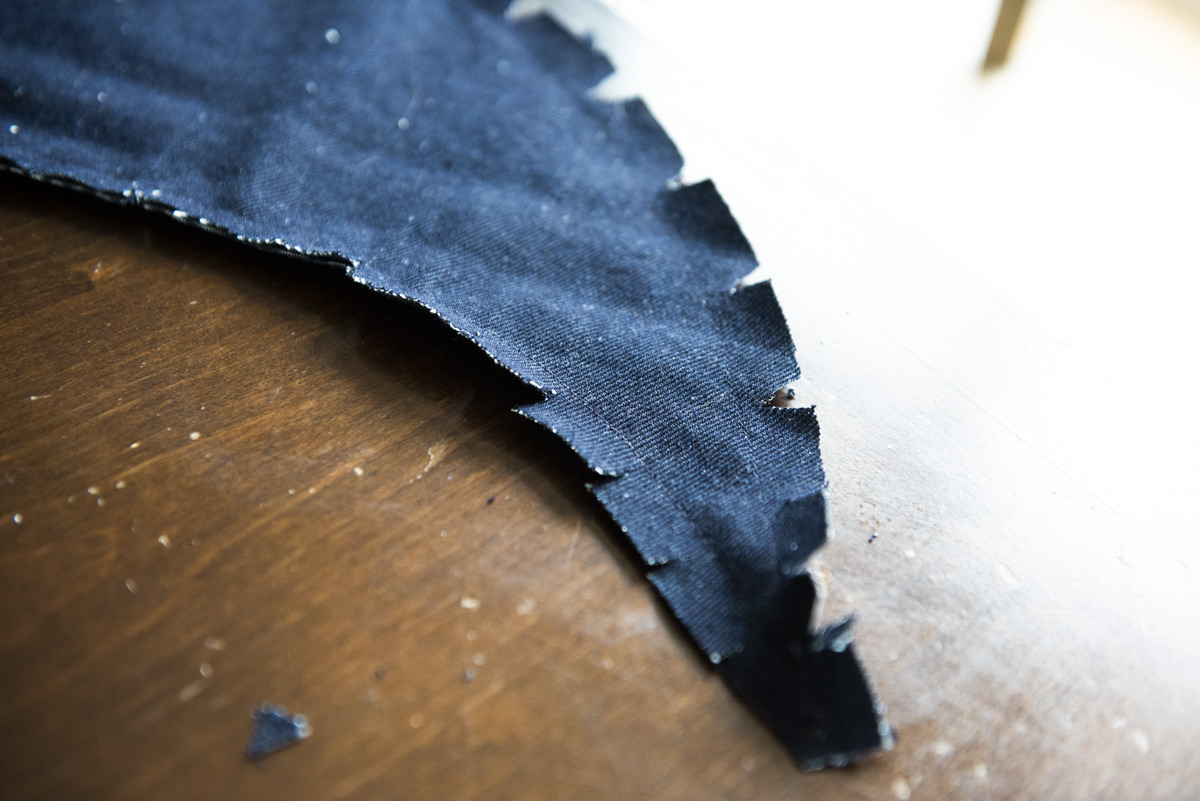
STEP 5: Make small cuts (optional).
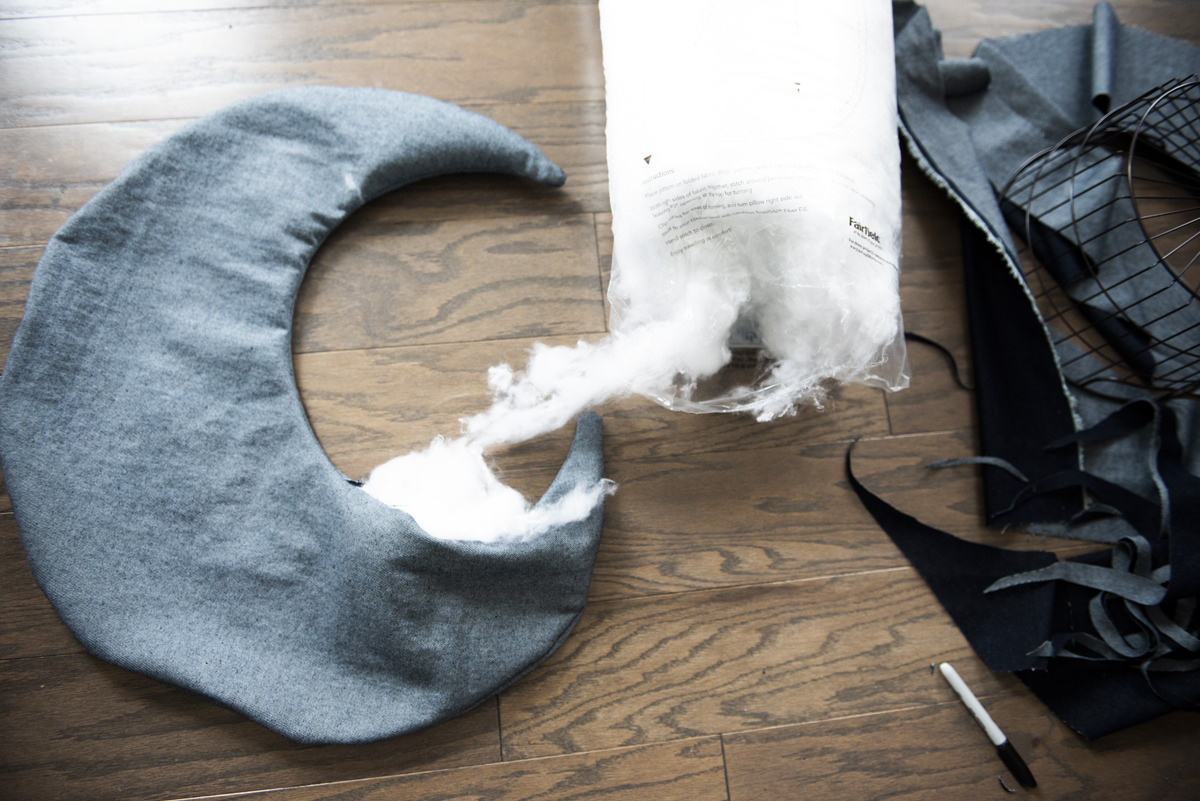
STEP 6: Turn right side out, and stuff with filler.
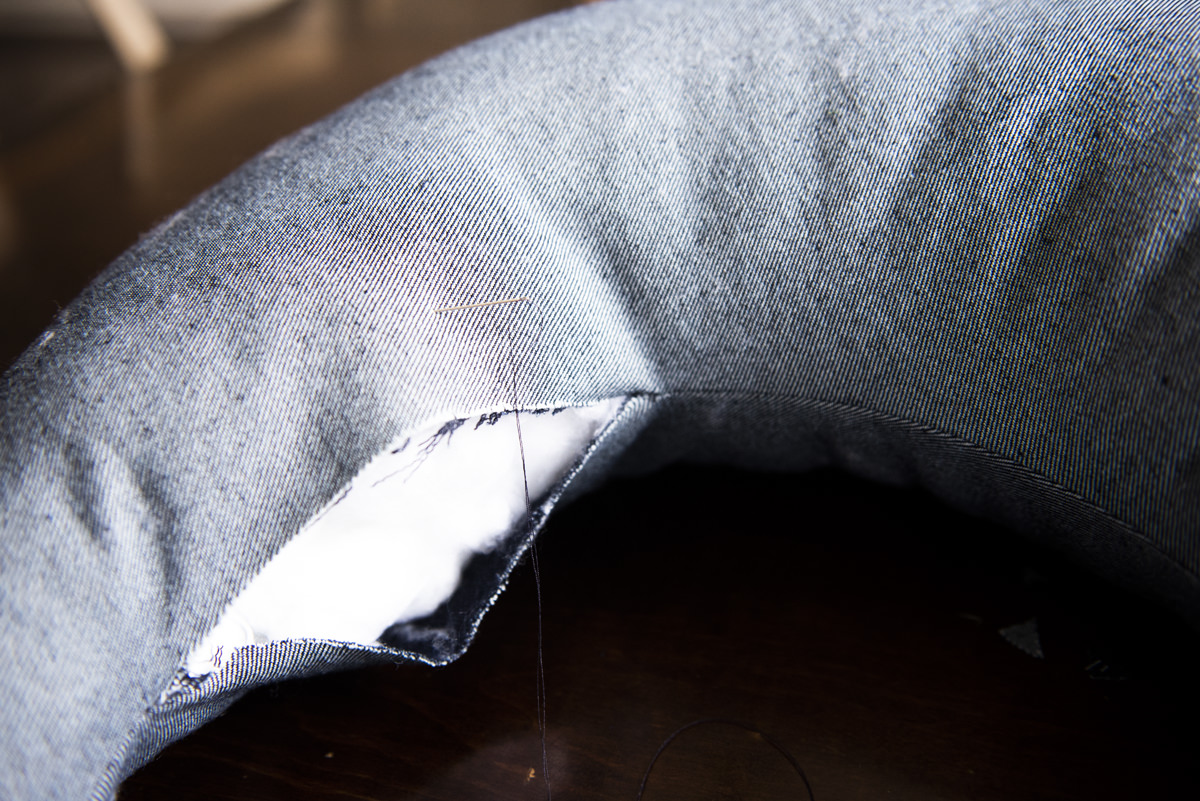
STEP 7: Hand sew the opening.
UPDATE: To answer a few questions I’ve gotten already… the final pillow measures 21.5″ (and above I mention that I began with a 26″ circle). I used a medium weight jean fabric (I preferred the lighter side, which is actually the back).
-Jamie